Tips for seeing and utilizing light.

As a professional photographer, understanding, discerning and controlling light is one of the most crucial elements for producing captivating imagery. No matter the subject matter, no matter the project. In the creative world of professional photography, there is an element of subjectivity. Do I want a moody emotion to portray our concept or do I want a bright airy feel to the image? Working closely with creative directors, designers, and clients, understanding the intention of the image and creating a mood and feeling for the audience is the end result, but taking the concept and turning that it in to a tangible product can’t happen without knowing lighting.

Here are a few tips to help understand lighting better. Whether you’re a novice photographer looking to improve your skills, a creative director who would like to better articulate your needs to your photographer, or whether you’re a client looking to understand the photography world a little better, these 3 tips will help.

1. Watch for shadows and highlights.
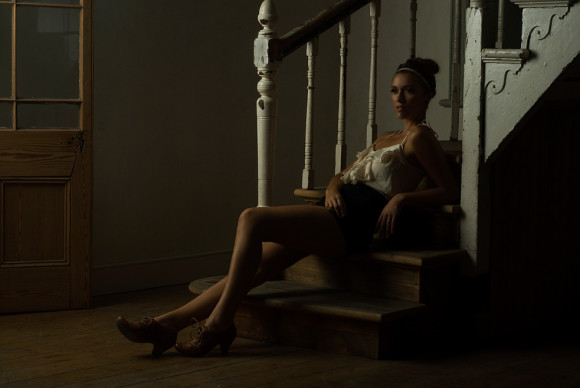
As you go throughout your day, look at what different light sources are doing. Is your desk lamp creating a hard shadow because it’s a bare bulb? Do your white curtains cause really soft shadows on your couch? Do the patterns from your stairs or blinds cause different shaped shadows? I know, these questions might seem elementary, but as soon as you start recognizing what different types of light sources do to create different types of shadows and highlights, the easier you can start re-creating it. There are many different types of light, which cause different shadows. You can use it to your benefit and alter light with precision. Harsh light with direct shadows, soft light with diffused shadows. These help create a mood. Ask yourself if you want a mysterious image; having harsh shadows with very little detail in the shadow area can help create the right mood. If you want a cheerful image, having little shadows with soft light might help brighten it up.
professional photographer, model photographer, lighting tips, portland bend oregon photographer
Strategically placing the light to the side of the subject with little fill light, will help in the drama and emotion of an image.


2. Look through magazines and try to recognize light direction and quality.
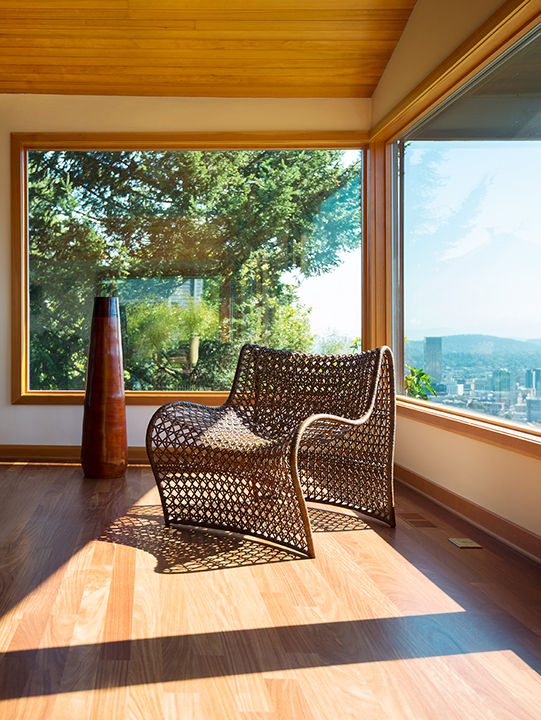
When I was being trained at Brooks Institute of Photography, one of my first lighting assignments was to put a binder together of all the different types of lighting (light quality) and light direction. My teacher literally gave me a list of 50 or so lighting demands to fulfill. For example, an image using a 1:4 lighting ratio with the light coming from camera right. Diffused light coming from behind the camera. (Gap Baby uses this technique often). Rim light, butterfly light, Rembrandt etc etc. The list went on. It was amazing. What it did was teach me to see light and all its effects in order to mimic it myself as well as learn the vastness of its uses. I think I even still have the binder, in fact. The quality of light refers to its harshness. Do you want a very soft light or a direct light? If you wanted to photograph an interrogation room, chances are, the light would be from above with a bare bulb. It’s not flattering for a portrait, but it’s emotional and harsh, conveying the appropriate emotion. If you wanted to photograph a Charmin ad, talking about the softness of the toilet paper, soft, diffused lighting would help convey that better. Light direction helps to determine where shadows land as well as what aspects of the subject to highlight. For instance, if I’m photographing food, I want a lot texture, which is not going to be achieved by putting the light right above my camera (on camera flash) or behind me. It might be soft light or hard light, but it won’t get the appropriate look because of the light direction and placement.
professional photographer, lighting, Portland Bend Oregon photographer
Utilizing light from a specific direction to accentuate the design and connection within the room.

3. Try to be intentional about seeing lighting color temperatures.
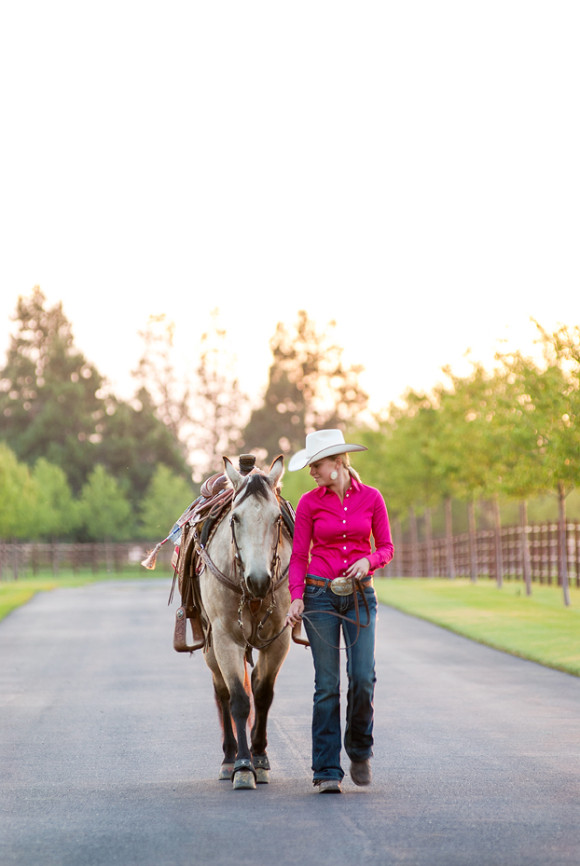
Lighting temperature is another way to control your lighting effects and convey the message of your client. There are many different color temperatures, measured by the Kelvin temperature scale. An easy way to describe a basic temperature is warm or cool. If you are photographing an iceberg for Patagonia outdoor gear, you may not decide to put that warming gel on your lights to warm things up. Perhaps, a warm light would be appropriate for a cozy fireplace scene with a glass of brandy. Do you get the distinction? Understanding color temperature and utilizing it or altering it will help create a more concise message in the photograph. Not to mention appropriate color balance. In addition, there are always lights in various locations that a photographer will need to balance or work around. For instance, overhead fluorescent lights do not create flattering light for a portrait. If you need to photograph an executive in a boardroom, however, learning to either work around the fluorescent tube, overpowering the green-tinted light, or putting a gel over the light will be a necessary decision for the photographer to make. Balancing color temperature is necessary in order to avoid having a green tinted CEO, looking sick to the stomach.
advertising photographer, portland bend oregon, lighting effects, professional photographer
My client wanted a warm and soft image to show the connection between the horse and trainer to emphasize their branding which involves a nostalgic warm appeal.


In short, I can’t stress enough how important knowing and controlling light truly is for photographers, or for choosing a knowledgeable photographer for your next project. If you have any questions or would like to keep this discussion going, please feel free to comment below. It’s kind of a passion of mine, and would love to “geek” out with some more lighting talk.

//Want to see more on lighting? Check out this previous post with a cool before/after : lightingmatters

 

|

Five Tips for the Traveling Photographer

Yesterday, I read a great little article by Real Simple called 10 Things Every Traveler Should Do. After thinking about the ins-and-outs of being a travel photographer, I decided to write a blog post for the traveling photographer in you. These tips are relevant whether you’re an expert photographer or novice, or whether you’re traveling to a tropical island, main city, or remote village.

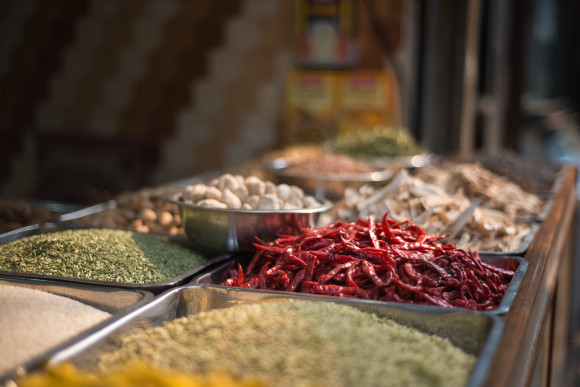
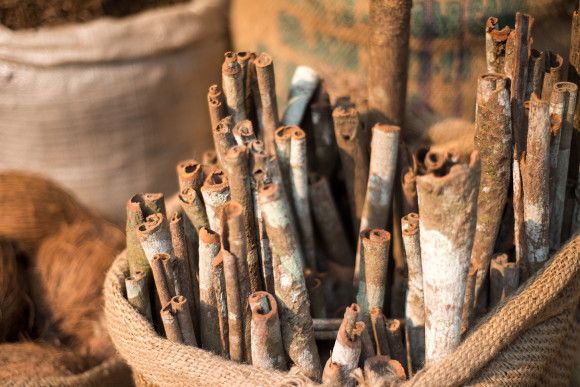
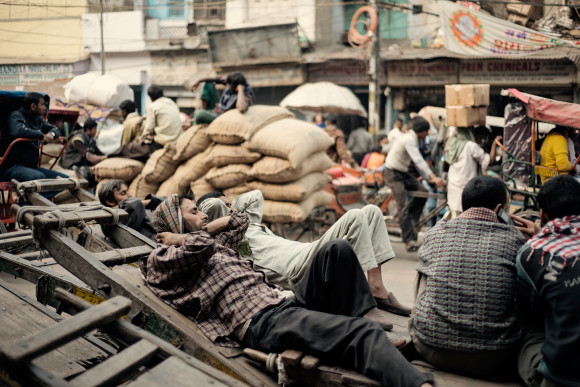
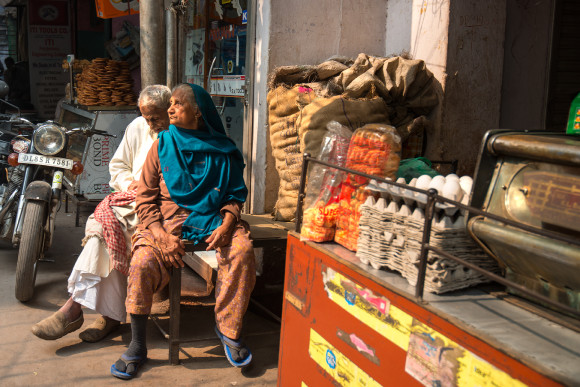
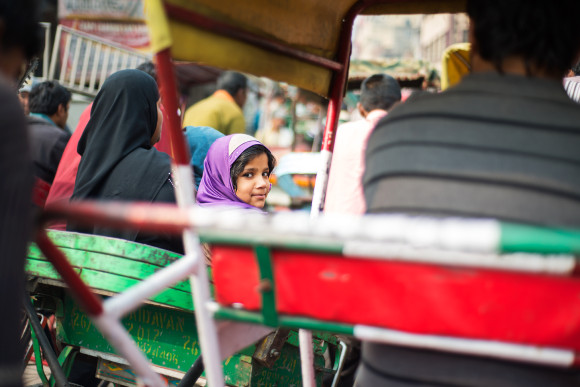
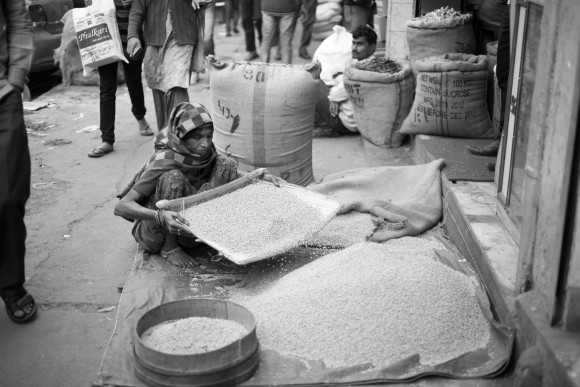
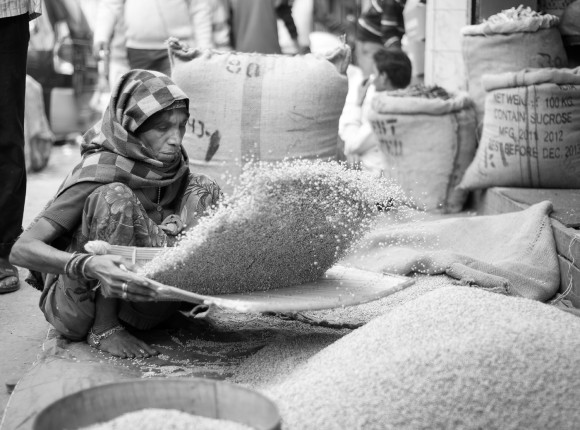
{All the images seen below are from my recent excursion to Delhi, India and taken during a 2 hour window of time. I hope you enjoy.}

5 tips for the traveling photographer

1. Let jet lag become your friend.
Say what!? I mean it. Instead of lying awake at 4am, staring at your ceiling fan, get moving! Explore the streets with your camera while rarely-seen, early-morning life happens. Not only is the light buttery and soft, but you are bound to see something that few other travelers will see.

delhi india spice market travel photographer delhi india spices wholesale bags of cinnamon

street scene in Delhi India travel photographer

2. Walk the city with your camera or take the local transport.

Where I’d never recommend walking down a dark alley where you might not feel comfortable, there are some incredible things to see and photograph when you get off the main strip. Sometimes (okay, most often) that means walking down that little side street or taking the unbeaten path. This first image was captured off the main road in the old city, where life was a little calmer, and there was a chance to really take my time photographing people.
Plus, I found the BEST chapatti (flat Indian bread) from an outdoor vendor that sticks the bread to the walls of a clay oven beneath him. I would have never otherwise experienced this little piece of heaven if I didn’t let myself roam.

delhi india couple travel photographer documentary delhi india rickshaw street photographer

3. Get low.
As you are on foot, noticing and observing life around you, don’t just snap scenes from the same angle. Physically getting lower to the ground can help create a more intimate image, even on a busy street.

delhi india travel photographer Delhi India street travel photographer

4. Shoot from the hip (or higher) to get something unique.
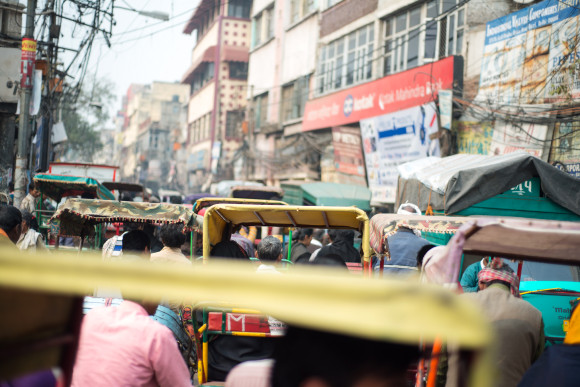
If you really want to capture something different, try shooting from your waist or above your head. Photographing from your waist will ensure you don’t disrupt real life moments. Nothing says “stop what you’re doing and smile for the camera” like a big lens pointed right at you. Shooting from your waist can help avoid loosing the realness of your scene as people carry on in a normal fashion. It may take a few tries to get it right, but usually worth the effort. Shooting from above your head might seem silly, but I have come to love the results. This technique really gives a unique perspective, and allows you, as the photographer to get an image that you might not have otherwise thought to capture. Take this scene for instance. From the perspective of my rickshaw, I had very limited visibility, but from over-head, I was able to capture a typical Delhi street scene from a unique vantage point.

travel photographer Delhi India

5. Tell a story or find a theme.
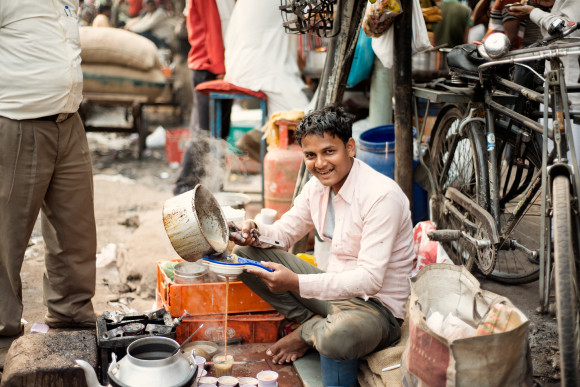
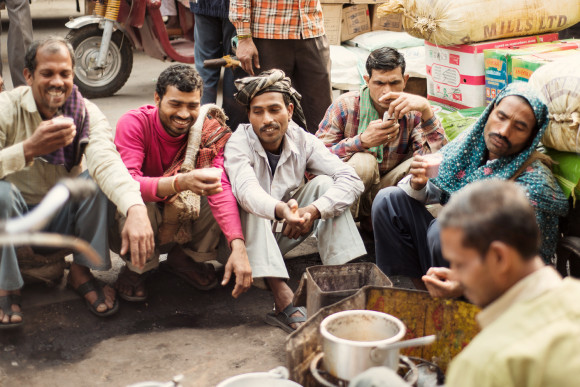
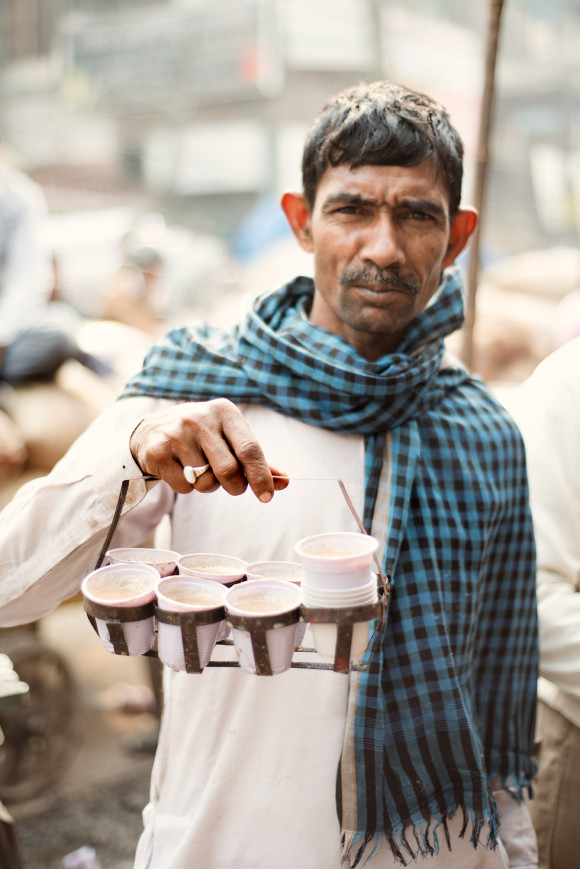
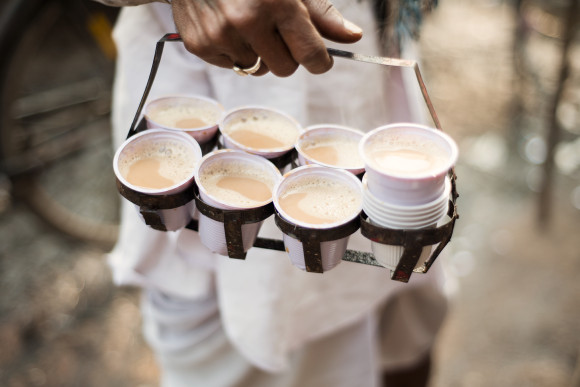
Drinking chai is a quintessential part of life for most Indians. It happens often, and it happens pretty much anywhere. Capturing a few images during my walk that relates to the making and enjoyment of chai lends for a nice story to fully capture this part of Indian culture. If possible, shoot a diversity of imagery, ranging from wide angles to close details. It helps your audience feel more connected and have a better understanding of these real life moments. Don’t be afraid to interact and ask for portraits too.

chai delhi india street travel photographer chai travel tea delhi india photographer travel chai story travel photographer delhi india travel photographer chai story delhi india

BONUS TIP:
Don’t be rude. Respect the culture. Although I would like to think this little bonus tip would go without saying, you’d be surprised. On a recent trip to Nepal, I was walking around the famous Boudhanath (Boudha) stupa, when I noticed a very interesting thing happen right in front of me. An elderly Tibetan nun was doing her circumambulations around the stupa (holy, prayerful walk in a clockwise direction) when a young tourist came up to her face with his camera and snapped a photo. There was no interaction, no asking of permission, and no thank you afterwards. As I was thinking how rude this was, the scenario that followed was priceless. As the young guy happily walked off, obviously pleased with his new photo, the old woman shot her walking cane up in his direction as if trying to whack him with it. She was so displeased that she kept trying to catch up with him, despite her slow limp, and continued to wave her cane in protest. The young man was clueless.


//Keep this discussion going. I’d love to hear if this information was helpful or if you have any travel photography questions or suggestions you would like to share. Feel free to comment below.//